Document Creation – How to Sign and Send a Document

Scenario

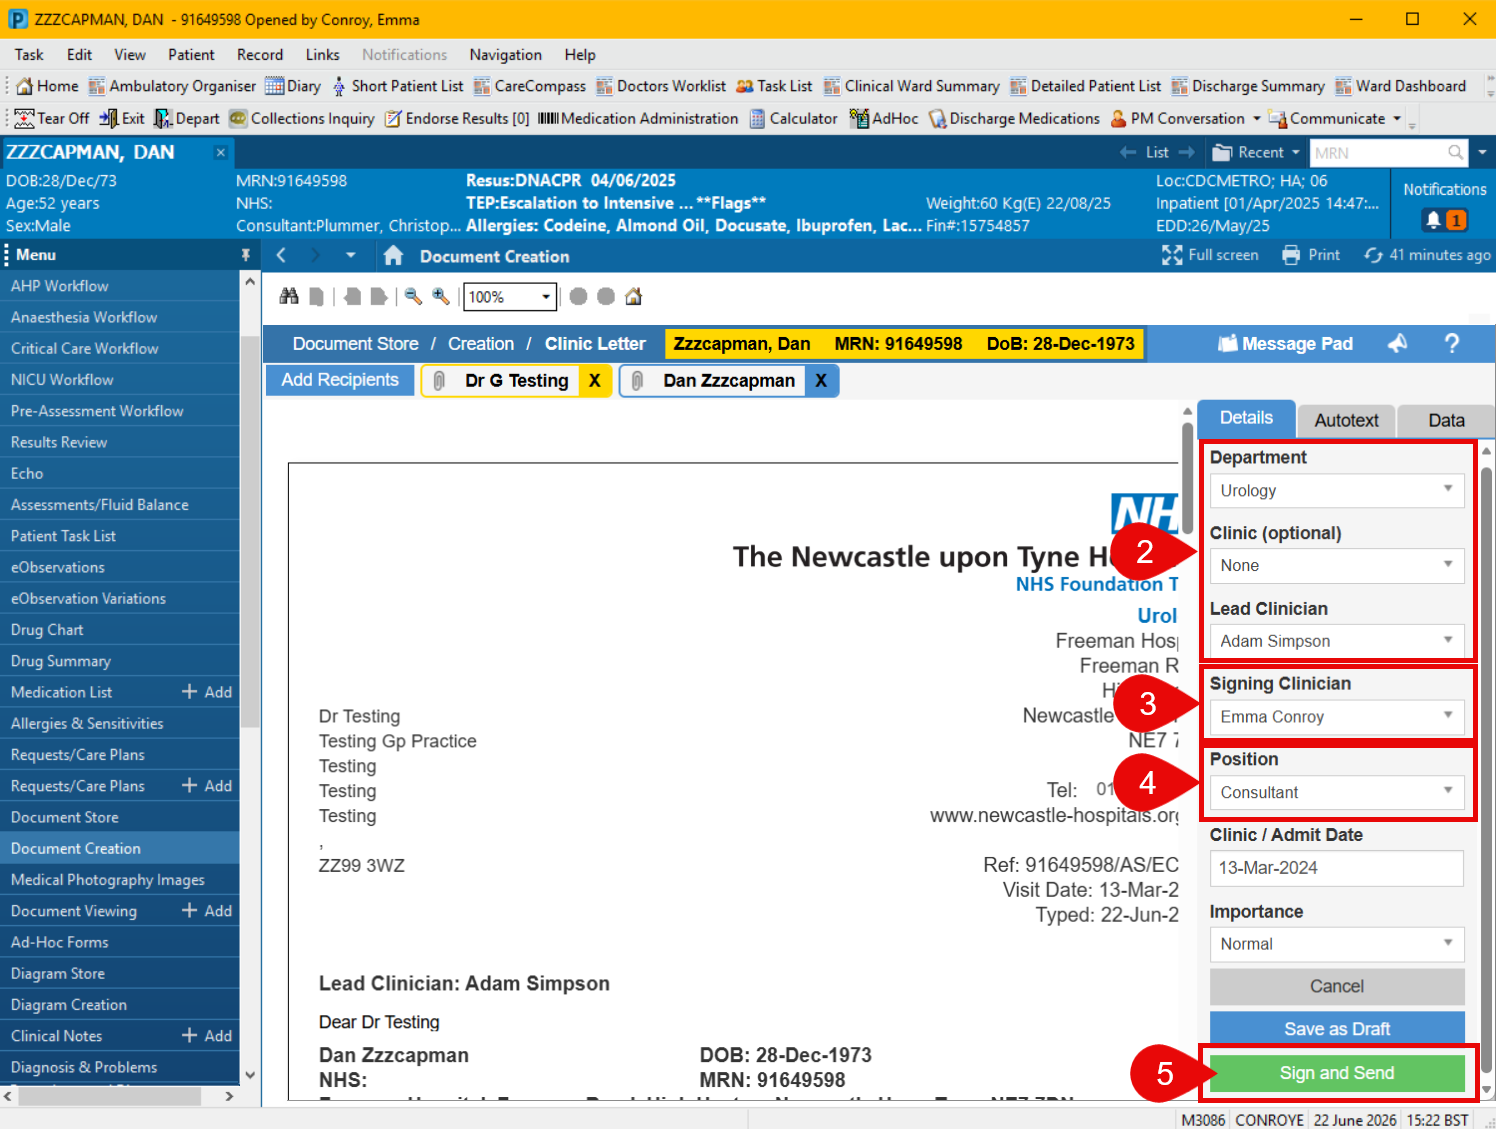
You have created a document in Document Creation and now wish to Sign and Send, immediately.

Instruction
  1.  Ensure you are logged in to Powerchart using your own account. There are two ways to identify who is logged in:
    • View full name (surname, first name) in top left of Powerchart page.
    • View username in bottom right of Powerchart page.

  1. Within Document Creation, in the Details tab, the Department and Lead Clinician will automatically populate. If this is incorrect, choose the correct option in the drop-down list.
  2. Select your own name in the Signing Clinician drop-down list. If your name is not in the list, please ask your ward administrator to add you.
  3. Select your position from the drop-down list.
  4. If you are both logged in AND selected as the Signing Clinician, the Sign and Send button will display. Click on the green Sign and Send button.
  5. The document will be sent to the Doc Store Print App.
    • If it is a discharge summary, this will send by 01:00 the next day.
    • For all other letters, they will be available for your clinical administrator to send from the Doc Store Print App; you will need to let them know that a letter is ready to send.

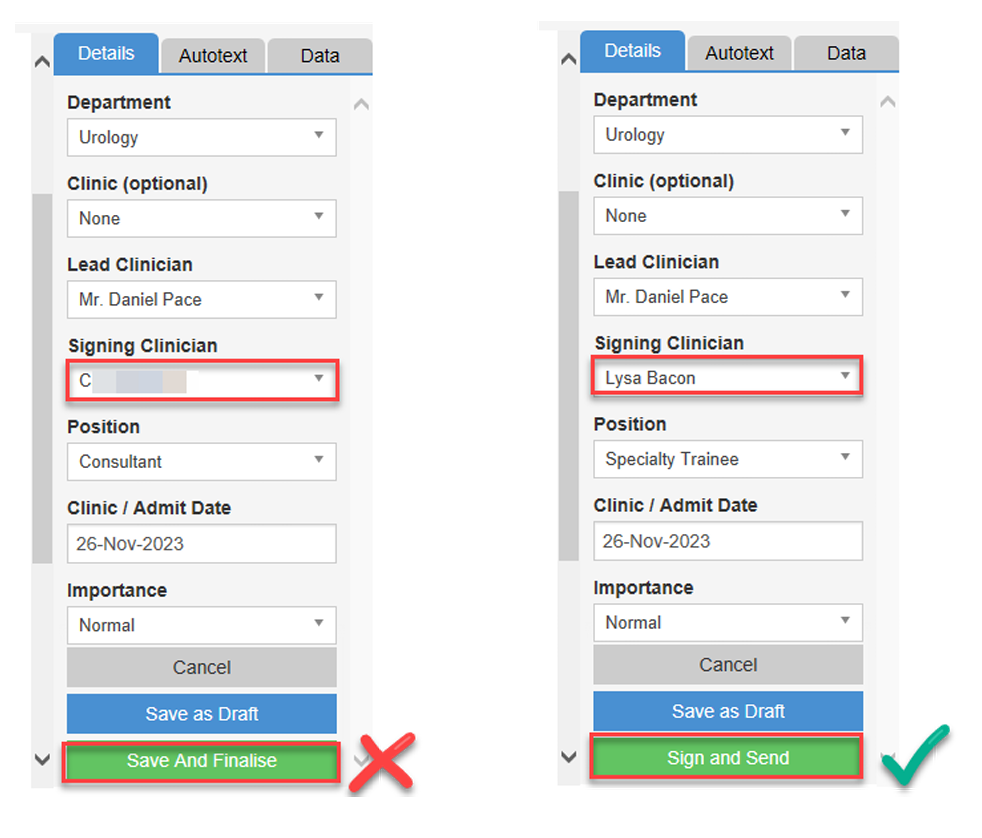
You MUST be both logged in and selected as the signing clinician for authentication to take place. Authentication changes the green button from ‘Sign and Finalise’ to ‘Sign and Send’. If this is not done correctly, you will not be able to send the letter.

Logged in as Lysa Bacon; the two examples below show the consequence of selecting a different signing clinician vs same as that logged in to system:


Updated: 22 June 2026