Manage Auto Text
Information
This guide shows how to access the Manage Auto Text function within PowerChart.
Manage Auto Text icon
There are several ways to access the Manage Auto Text screen. Three of these methods are shown below.
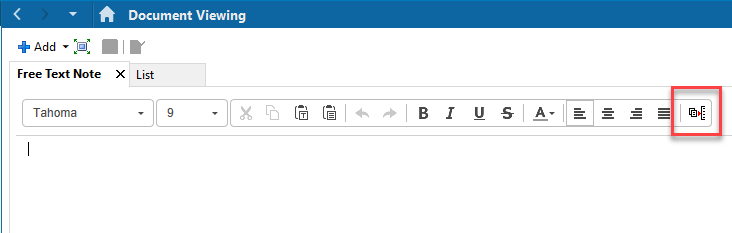
- Navigate to the Add New Document page in Note Viewing. Then select the Manage Auto Text
 icon. This allows you to add new auto-text phrases or edit existing ones.
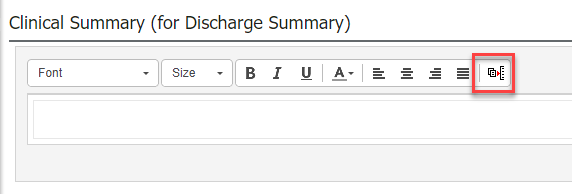
- Alternatively, go to a text entry section in the Workflow (e.g. Clinical Summary, Examination Findings, Handover Details…). Then select the Manage Auto Text icon.
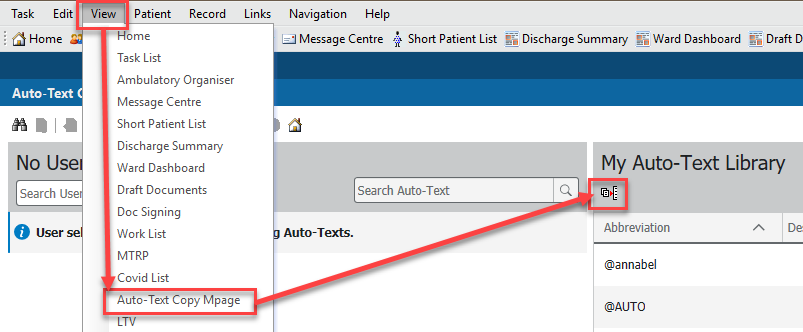
- Or, go to the Auto-Text Copy Mpage and select the Manage Autotext icon in the My Auto-Text Library section.
Add New Phrase
Follow these steps to add a new auto text phrase into your library.
- Click the blue plus button
 at the top left.

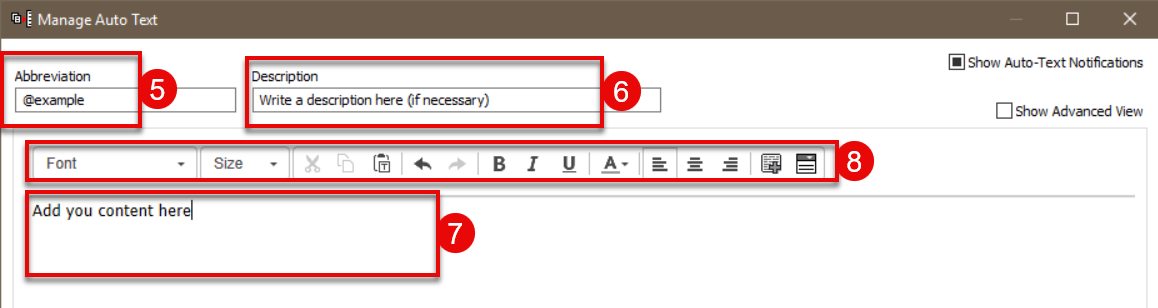
- In the Abbreviation box enter the trigger for your auto text. It is recommended you start with the @ symbol followed by a word, e.g. @signature. A different symbol can be used if preferred.
- A description can be added if preferred (this is not mandatory)
- Type the text for your auto-text phrase in the box below.
- The tool bar can be used to add text formatting or change the text colour.
Add a Drop Down List
Follow these steps to add a drop-down list into your auto text phrase.
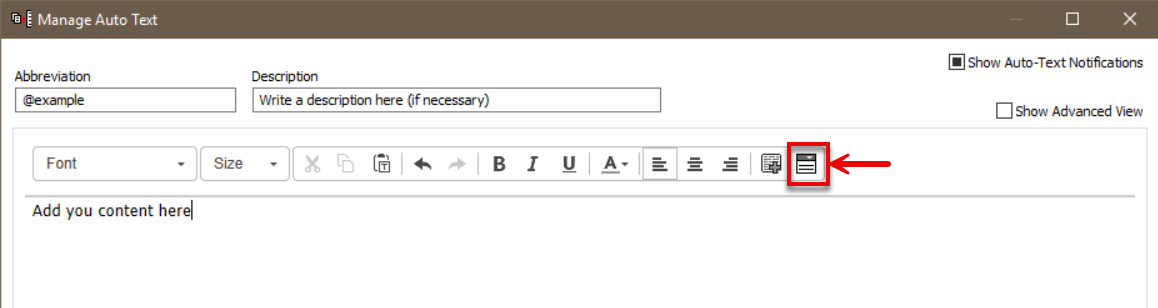
- Click the Create Drop List
 icon at the end of the tool bar.
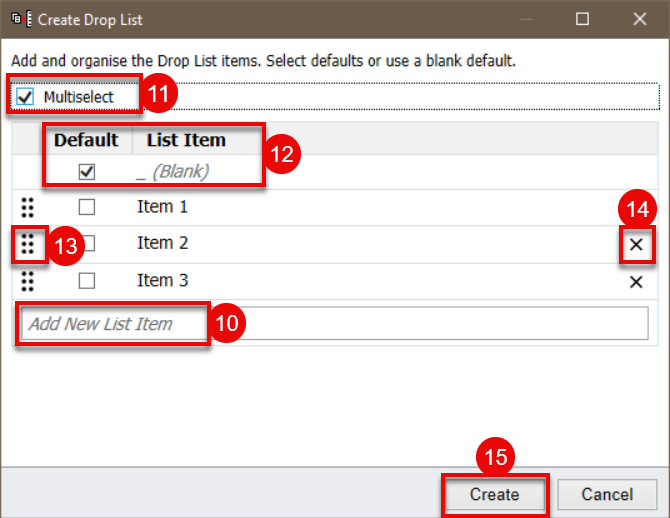
- Enter the items to be included in the list in the Add new list item field.
- Add a tick in the Multi select box if you want you list to be multi select. When inserted selected items will display separated by a comma.
- It is recommended that the default value is set to Blank. A different default value can be selected if preferred by indicating this in the Default column.
- Items can be reordered by dragging from dots symbol on the left hand edge.
- Items can be removed by clicking the x on the right hand edge.
- Click Create to insert your list into your auto text phrase.
Add a Data Item
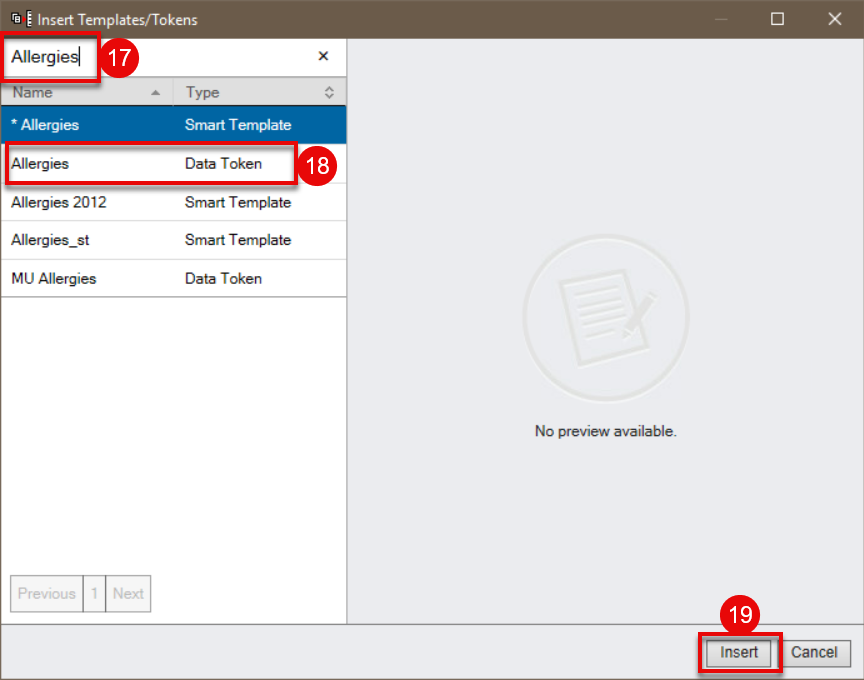
Data tokens allow data from the patient’s record to be pulled into your auto text phrase. For example, if you wish to include the patient’s allergies the Allergies data token can be added.
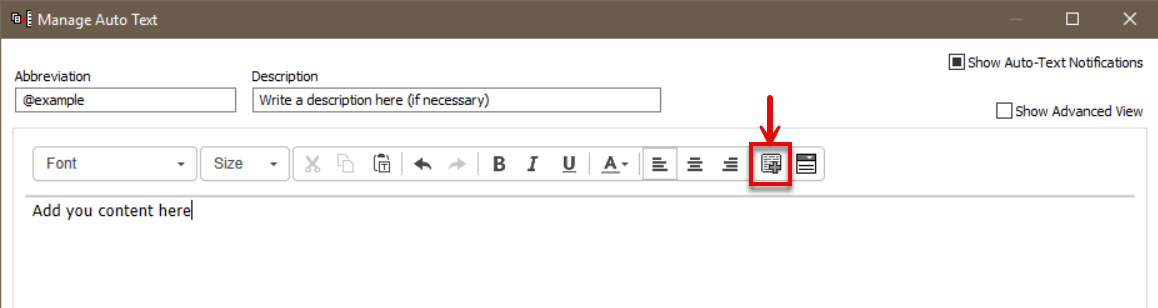
- Click the Add Data Item
 icon towards the end of the tool bar.
- Search for the data you would like to add.
- Please note, only items called “Data Token” are supported. Items called “Smart template” have not been configured to work in our organisation and may not return the expected information. Select the item to insert.
- Click Insert.