How to print a DNACPR form
Scenario
This guide shows how to create and print a new DNACPR form using the Document Creation function in PowerChart. Prior to completing these steps the Treatment Escalation plan must be completed and signed by a senior consultant.
Print from Document Creation
Follow these steps to create and print a new DNACPR form.
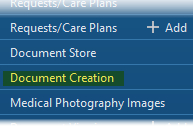
- Open the patient record and click Document Creation and in the main menu.
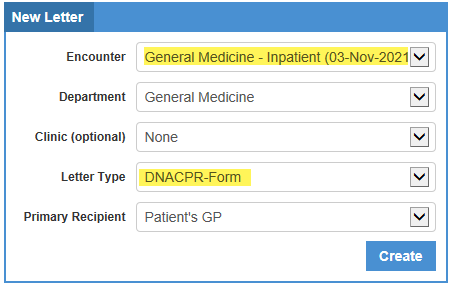
- In the Encounter box ensure the correct encounter for this visit is selected.
- In the Letter Type box select DNACPR-Form.
- Click Create.
- The details recorded in the DNACPR form will automatically populate from the patient’s Treatment Escalation Plan. Check this is
correct and authorised by a consultant.
- On the Details tab set the Lead Clinician and Signing Clinician to the authorising consultant

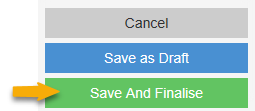
- Click Save and Finalise
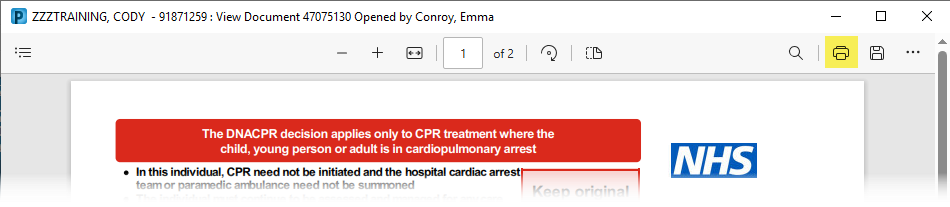
- The screen will refresh and a green bar will display at the bottom. Select click here to print a copy.

- The document will open in a new window. Click Printer icon.
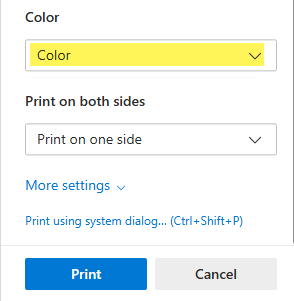
- The ‘Print’ screen will open. Check the correct colour printer for your area is selected in the ‘Printer’
section.
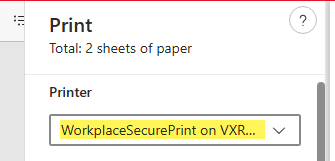
- Ensure Color is selected in the dropdown list
- Click Print