Creating a Patient List within CareCompass to help manage patient information recording on the ward(s) that you work on more easily.
Instructions
Please note: this guide assumes that you have already established a clinical relationship with the patient(s) on your list. For more information see Establishing Relationships
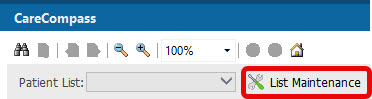
Click List Maintenance:
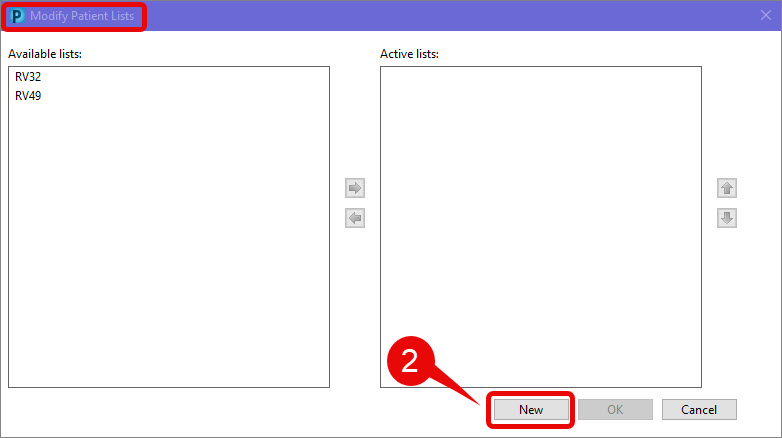
In the opening Modify Patient Lists window select, New:
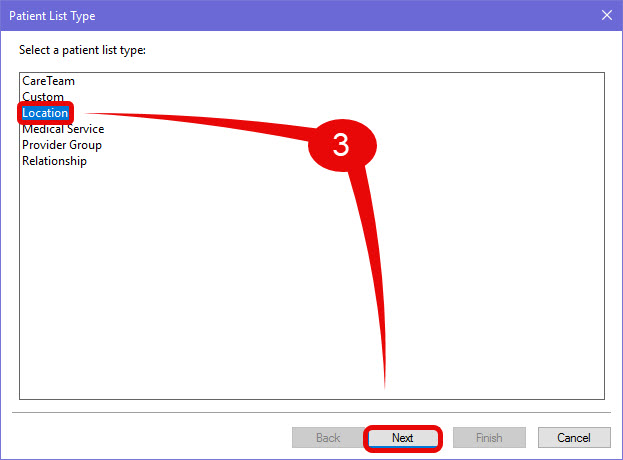
In the Patient List type window, select Location, then Next:
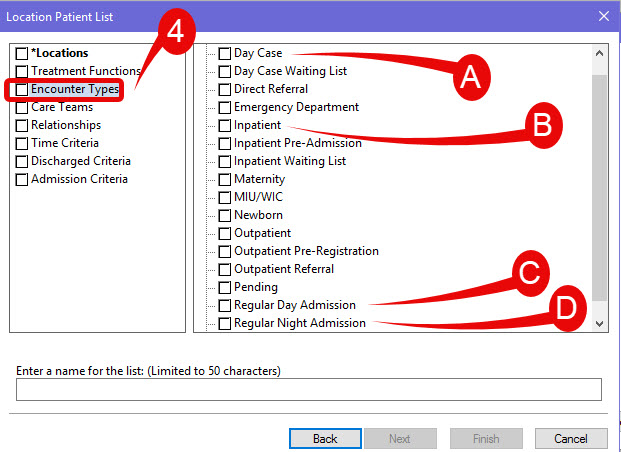
In the Location Patient List window, select Encounter Types, then in the right-hand column, place ticks in the following four encounter types:
Day Case(A)
Inpatient (B)
Regular Day (C)
Regular Night (D):
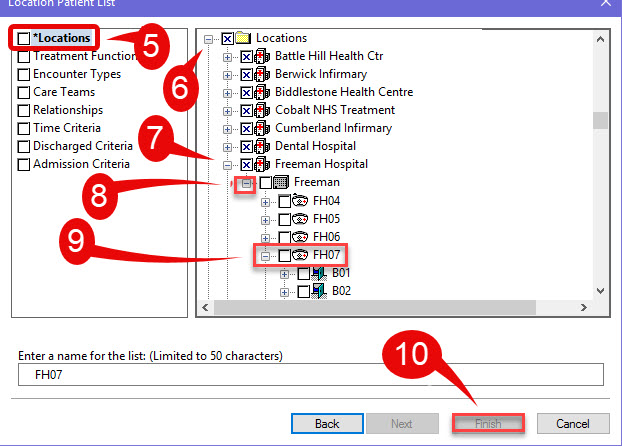
Click Locations.
In the right-hand column, click on the + button to the left of Locations.
Click on the + button to the left – hand side of the hospital location.
Click on the + button to the left – hand side of the hospital name.
Place a tick the box to the left – hand side of the Ward number.
Click Finish:
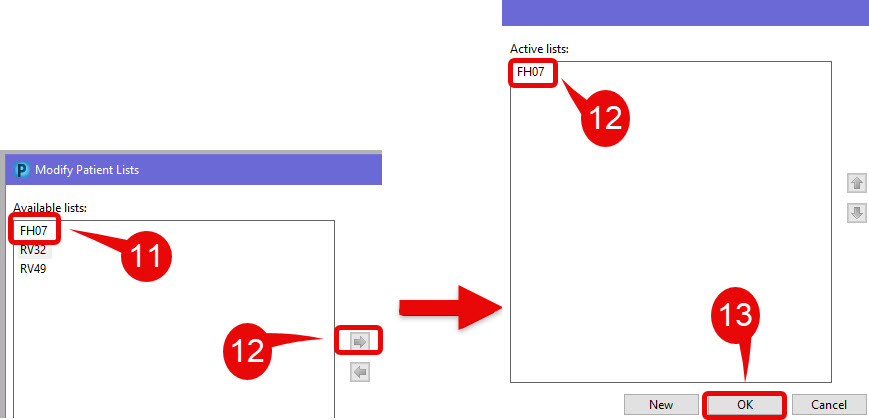
The ward number now appears in the Available Lists column of the Modify Patients List window, click to highlight ward.
Click the right arrow in the centre of the window to pull the ward across into the Available lists.
Click OK:
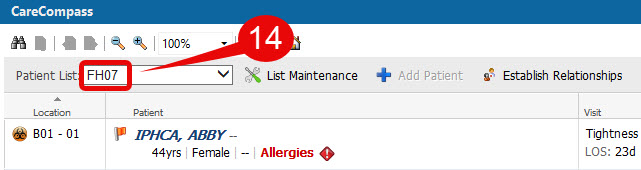
The ward number will now be showing in the Patient List field of the CareCompass homepage – the patients currently admitted on the ward will be showing:
To add further patient lists, up to a maximum of ten, that will be visible (right-hand side) and thirty available lists to choose from (left-hand side) – repeat the process 1-14 above