Accessing a Pool
Introduction
- Lead clinicians will receive results to endorse directly to their inbox in Message Centre.
- All clinicians can endorse either by 1) a Message Centre “pool”, 2) a Message Centre “proxy” or 3) within a patient’s record.
- If endorsing from a Message Centre pool, you will first need to set up access by opting in.
- In the event a pool is no longer required, opt out to remove the pool from your list.
- If you have opted in to multiple pools, you may wish to set one as the default pool.
This guide shows how to Opt In/Out of pools and how to set a default pool.
How to Opt In to a Pool
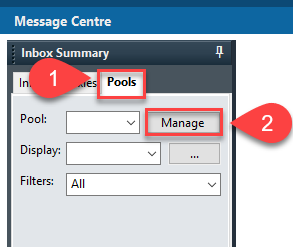
- From within Powerchart’s Message Centre, click on the Pools tab.
- Click on Manage.
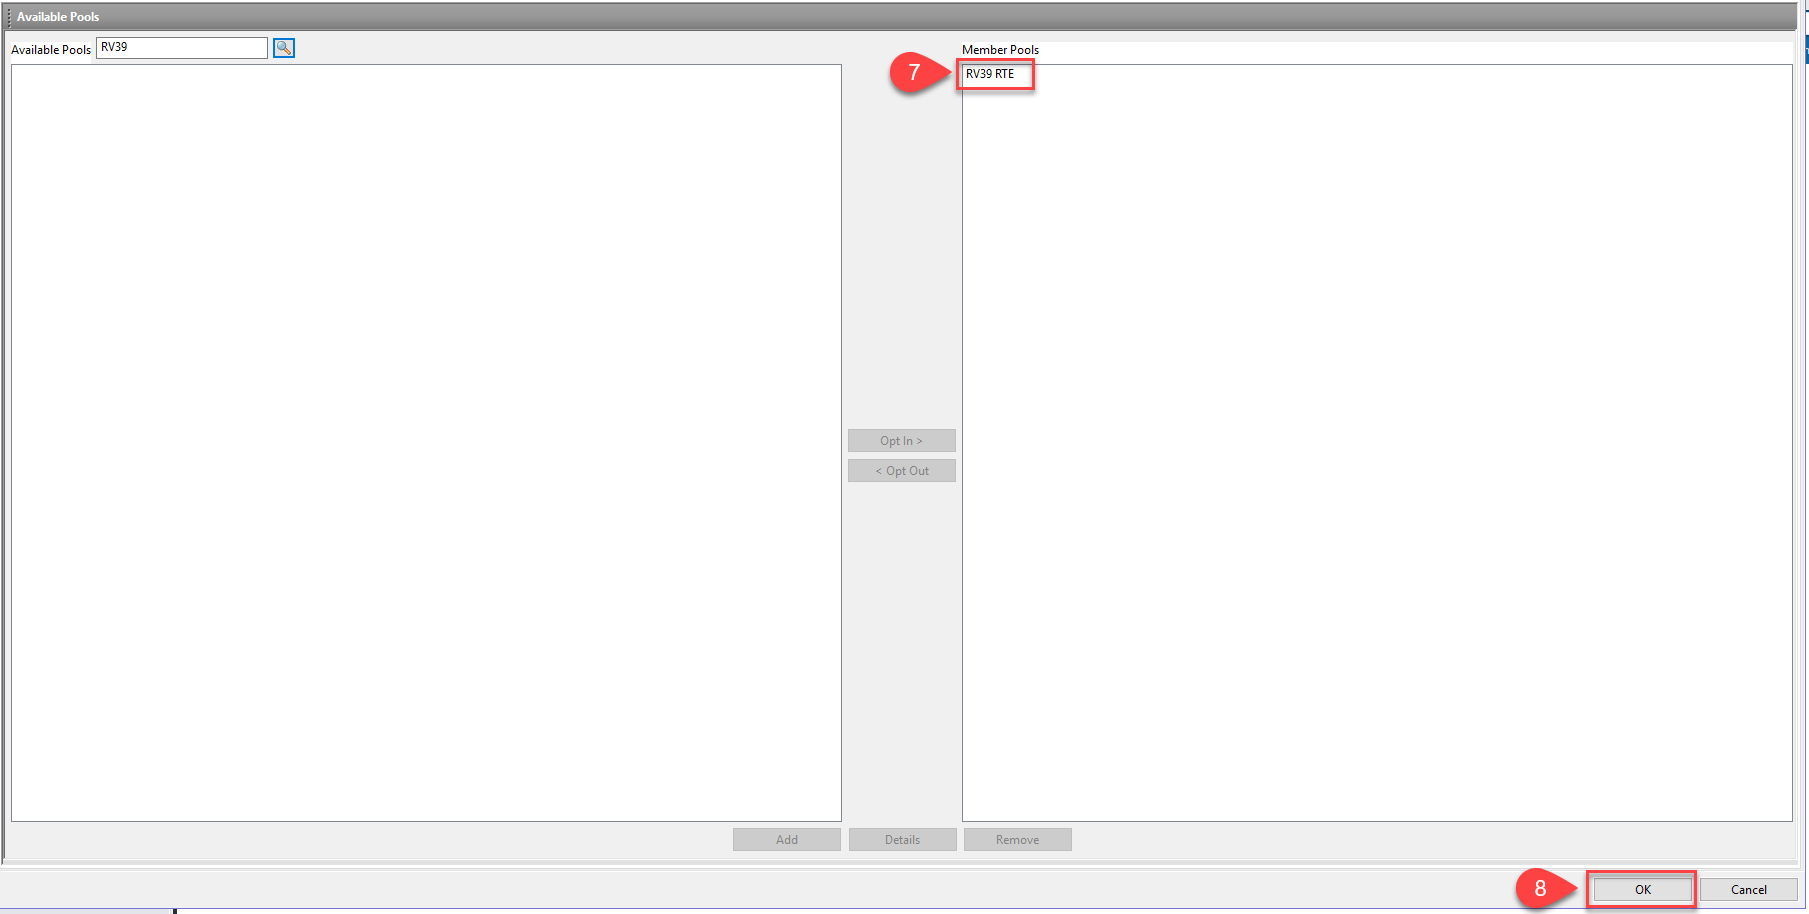
- In the Available Pools field, type in your ward name.
Note: When searching for a ward pool you must start with the location code
-
-
- FH = Freeman Hospital e.g. FH02
- RV = Royal Victoria Infirmary e.g. RV42
- GNCH = Great North Children’s Hospital e.g. GNCH07
- NCCC = Northern Centre for Cancer Care e.g. NCCC32
If enter * into the search field, a list of all pools will be returned. Those with RTE in the name are Results To Endorse pools.
- Click on the magnifying glass button to initiate the search.
- Select the correct result listed in the left pane.
- Click on Opt In, located between the two panes.

- The selected ward is now visible in the Member Pools pane.
Note: Repeat steps 3-6 if you require access to other pools.
- Click on OK at the bottom right side of window.
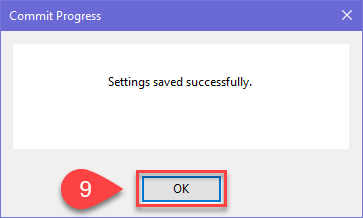
- Click on OK in the new window, Commit Progress.
- The pooled list now displays.
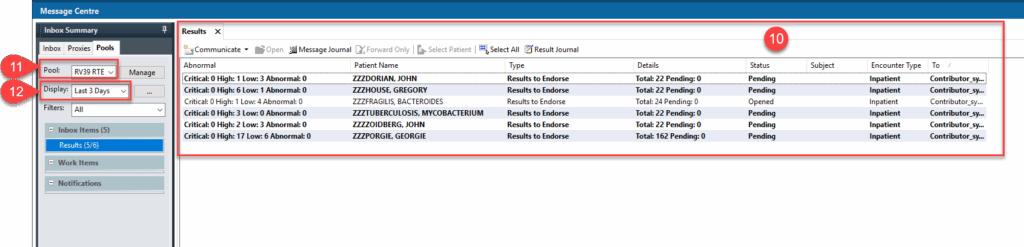
- If you have created multiple pools, click on the Pool drop down list to view a different pool.
- Use the Display drop down to control the date range for results to be viewed.
How to Opt Out of a Pool
When access to a pool is no longer required:
- Click on the Pools tab.
- Click on Manage.
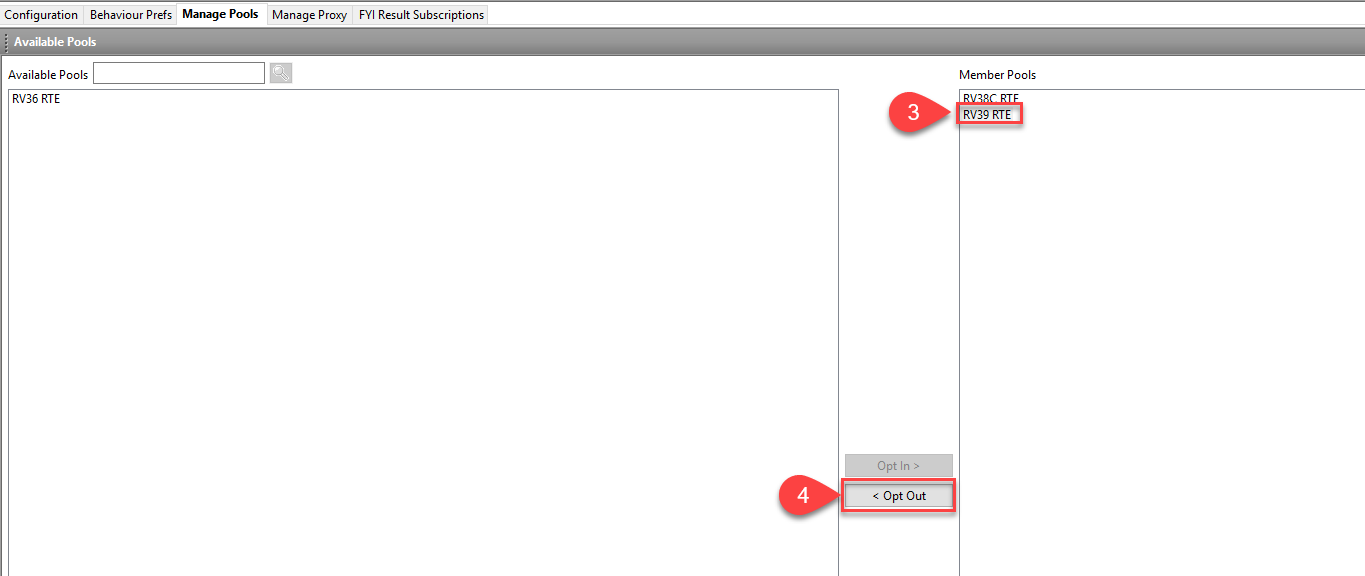
- From the Member Pools list, select the pool you no longer require.
- Click on Opt Out, located between the two panes. Repeat as required.
- Click OK at the bottom right side of window.
- Click on OK in the ‘Commit Progress’ pop up window.
How to Set a Default Pool
If you have several pools in your list, but would like the list to default to a specific pool:
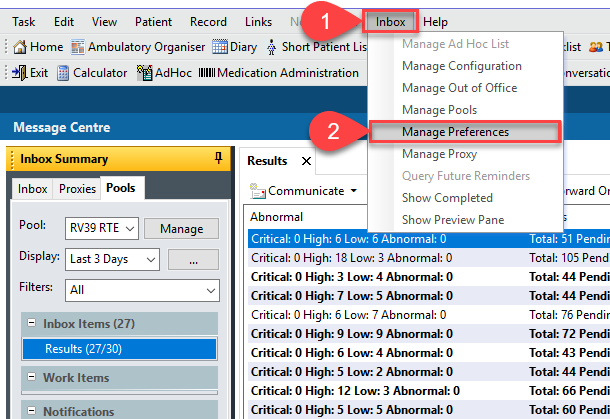
- Click on Inbox in the top grey menu bar.
- Click on Manage Preferences from the drop down list.
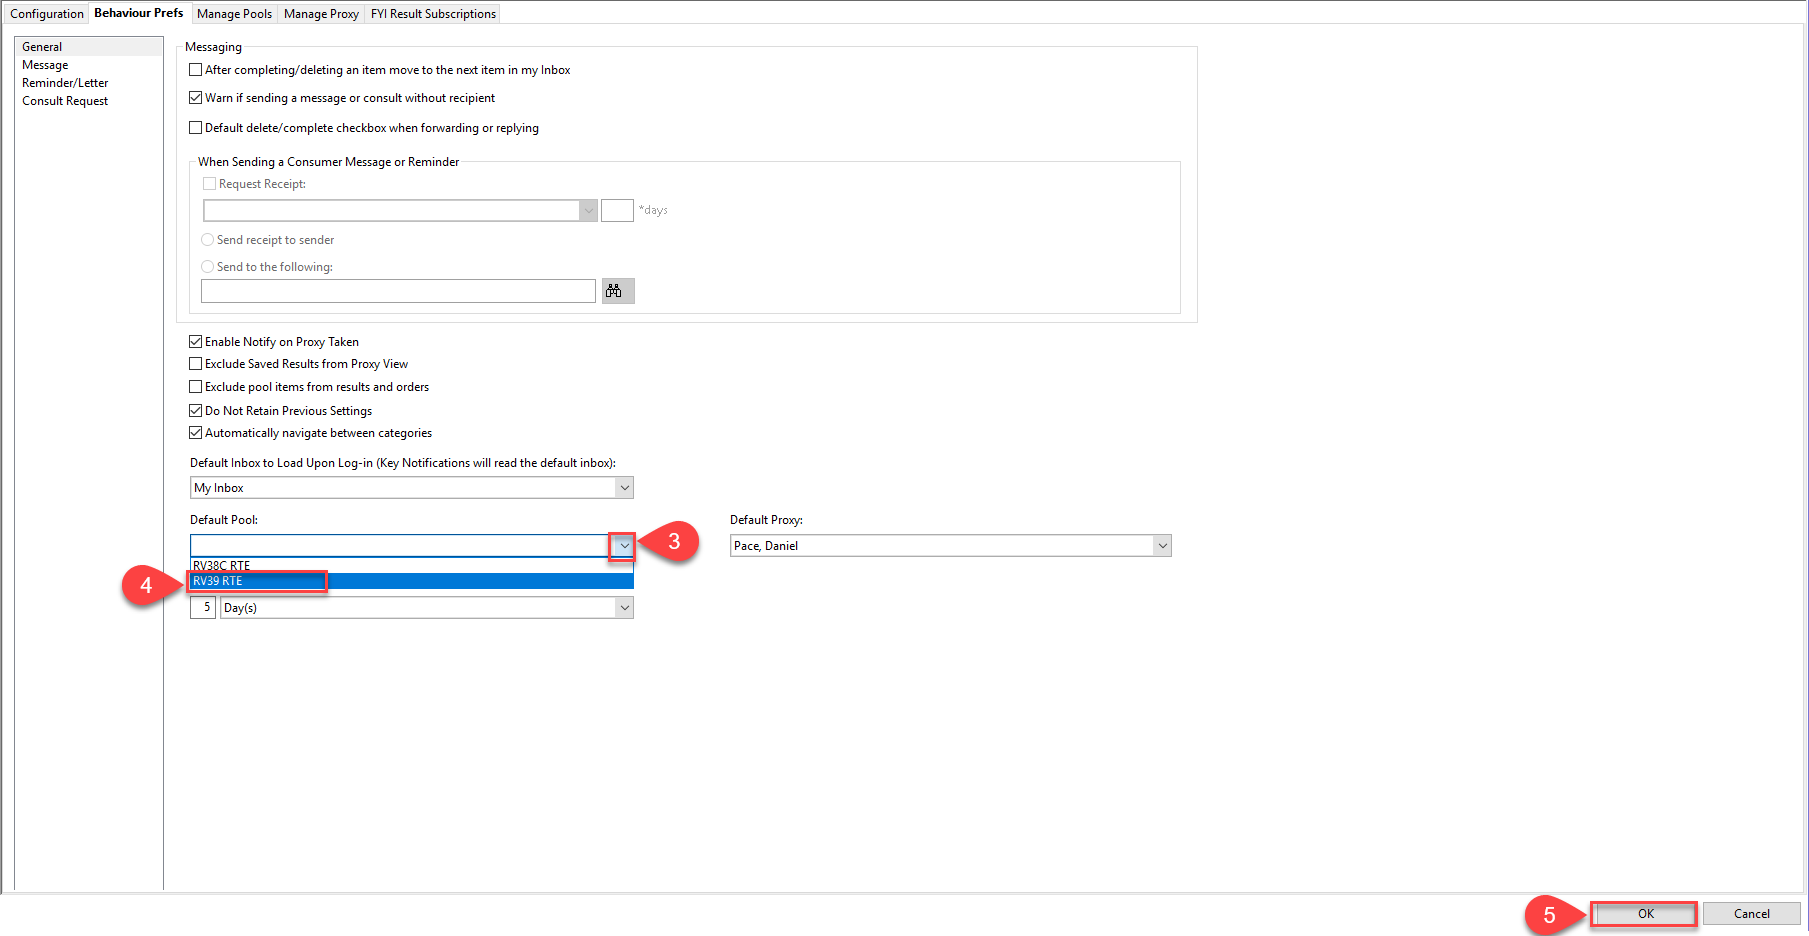
- A new window opens. Click on the drop down arrow by Default Pool.
- Select the pool to become the default. The name will then populate the Default Pool box.
- Click OK in the bottom right corner to save.