Doctors Worklist
Introduction
This customisable tool allows clinicians to manage multiple patients’ care by providing a snapshot of patient information, quick access to documentation and ability to create an Action list (To Do list).
Accessing Doctors Worklist
- Click on Doctors Worklist in the top grey menu bar .

OR
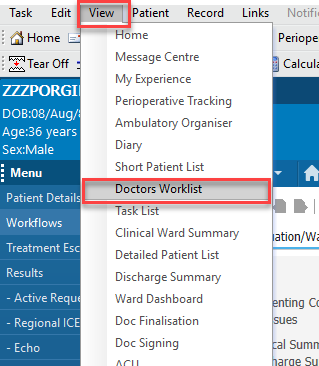
Click on View in the top grey menu bar and select Doctors Worklist from the drop down menu.
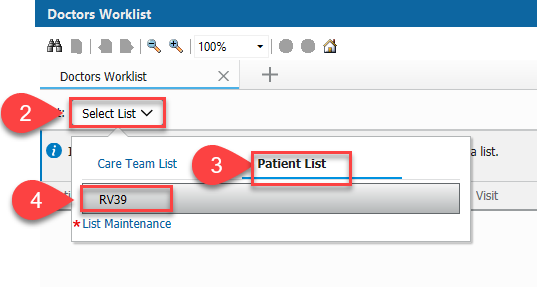
- Click on Select List
- Click on Patient List
- Select the patient list you wish to view. Even if there is only one in the list, you must click on it.
All Active patient lists will appear. Available lists will not. Create a new list to view by selecting *List Maintenance.
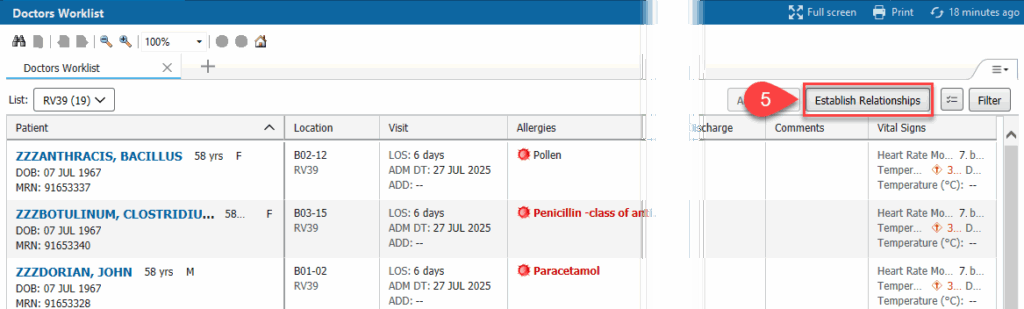
- Click Establish Relationship to view your patients’ clinical data.
How to Customise
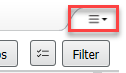
- Click the drop-down menu in the top right corner of the page.
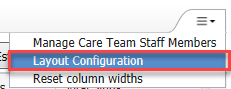
- Click on layout configuration.
- The Columns menu lists Pinned Columns and Other Columns.
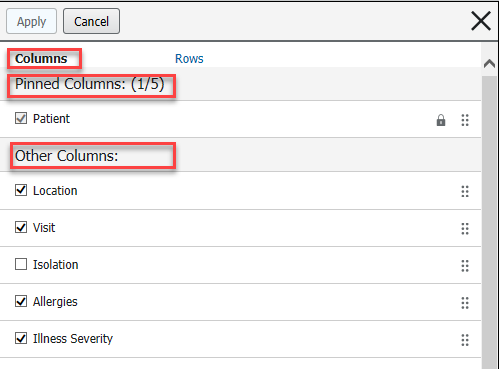
- Pinned columns allows up to 5 columns in a locked position. These columns will be fixed and not horizontally scrollable.
- Other Columns will form part of the horizontal scrollable view.
- To view or hide columns, check or uncheck the tick box next to the column title.
- To re-order the column positions, click and drag the relevant title to the desired position
- Click Apply to update.
- The Rows menu allows the row height to be changed.
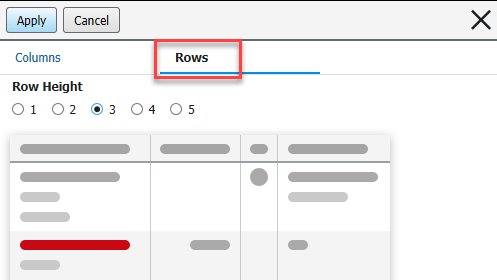
- Click the radio button for the desired row height. Choose 1 to 5 lines.
- Click Apply to update.
Column Field Types
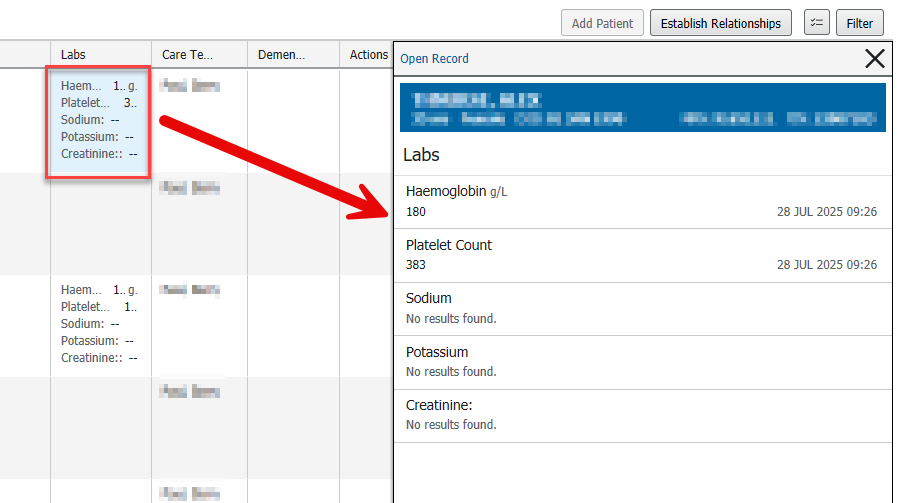
Click on a field and the data contained within will display in a window appearing from the right.
There are 3 types of fields:
Data,
Links to Ad Hoc Forms and
Actions (To Do list).
- Most fields contain data but due to size restrictions, the view is not complete. Click on the field and a window opens from the right for a full view.
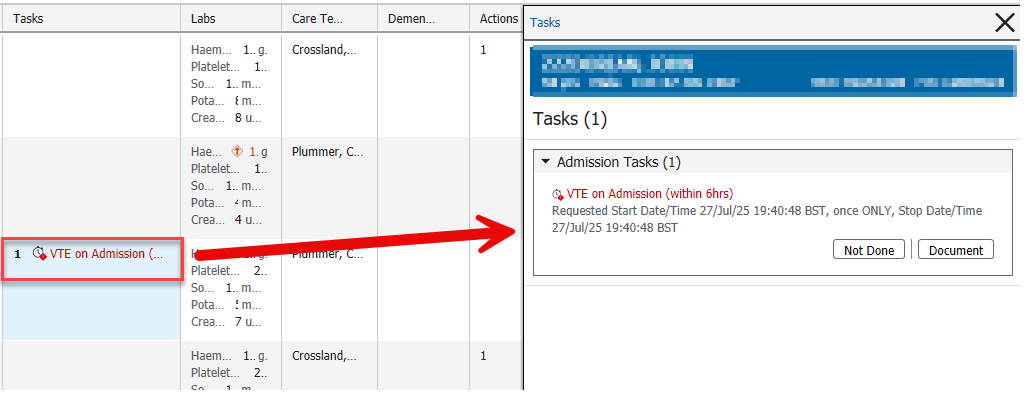
- The Task field will display links to ad hoc forms. Click on Document and the ad hoc form will open for you to complete.
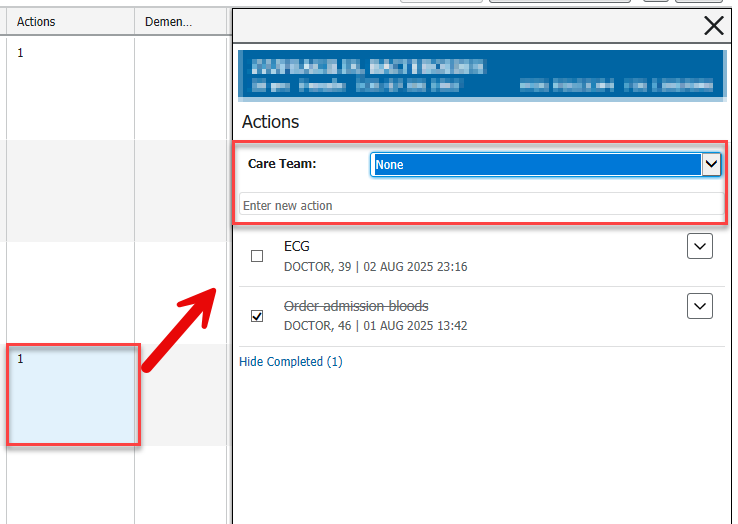
- The Action field will allow you to create a To Do list.
- Actions can be created and marked as done from the new window.
- The Enter New Action field remains greyed out until Care Team is set to None.
- Mark Actions as completed by clicking on the empty box. This will place a tick in the box and the Action drops off the list.
- Click on Show Hidden to see completed Actions.
I-PASS
Clicking in the blank space to the right of a patient name will open I-PASS.
Illness Severity –
Patient Summary,
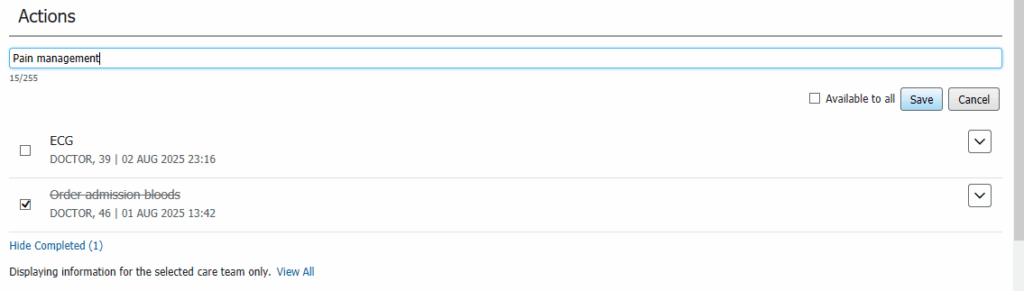
Actions,
Situational Awareness and
Synthesis by Receiver
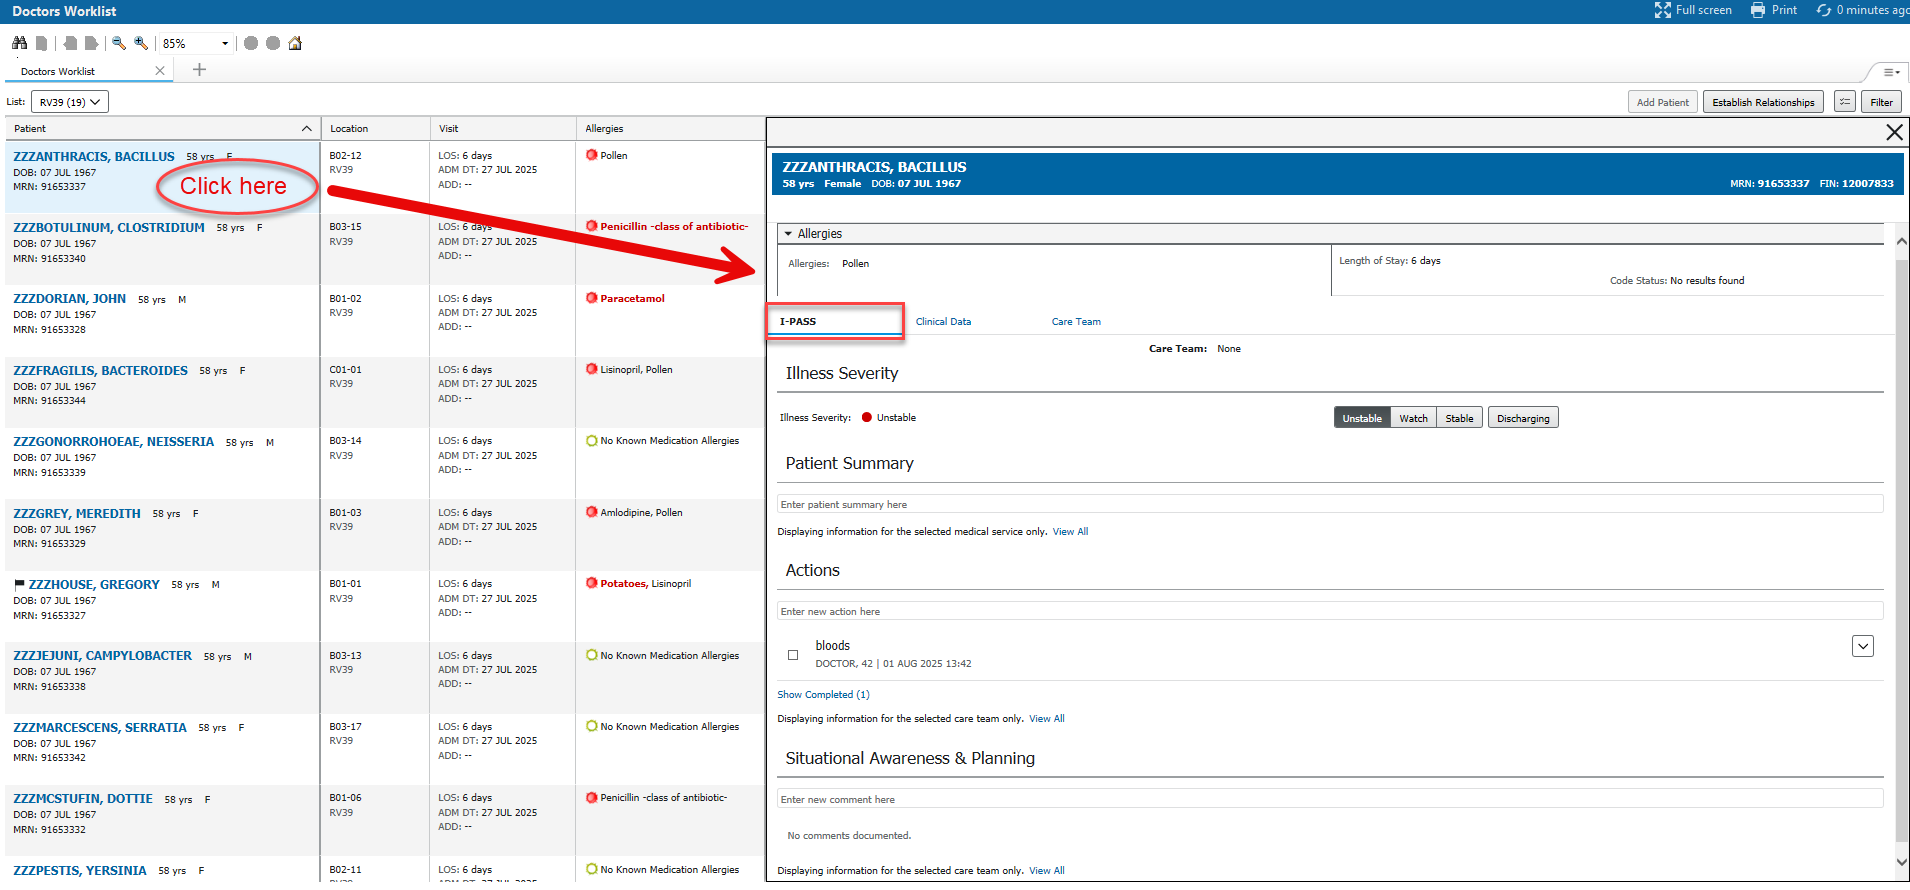
Here you can:
- Select Illness severity: Unstable, Watch, Stable or Discharging.
- Enter comments in fields. Be sure to click Save.
- Actions field allows for the creation of a To Do list where Actions can be set and ticked off when completed. Actions are personal unless the ‘Available to All’ box is ticked.
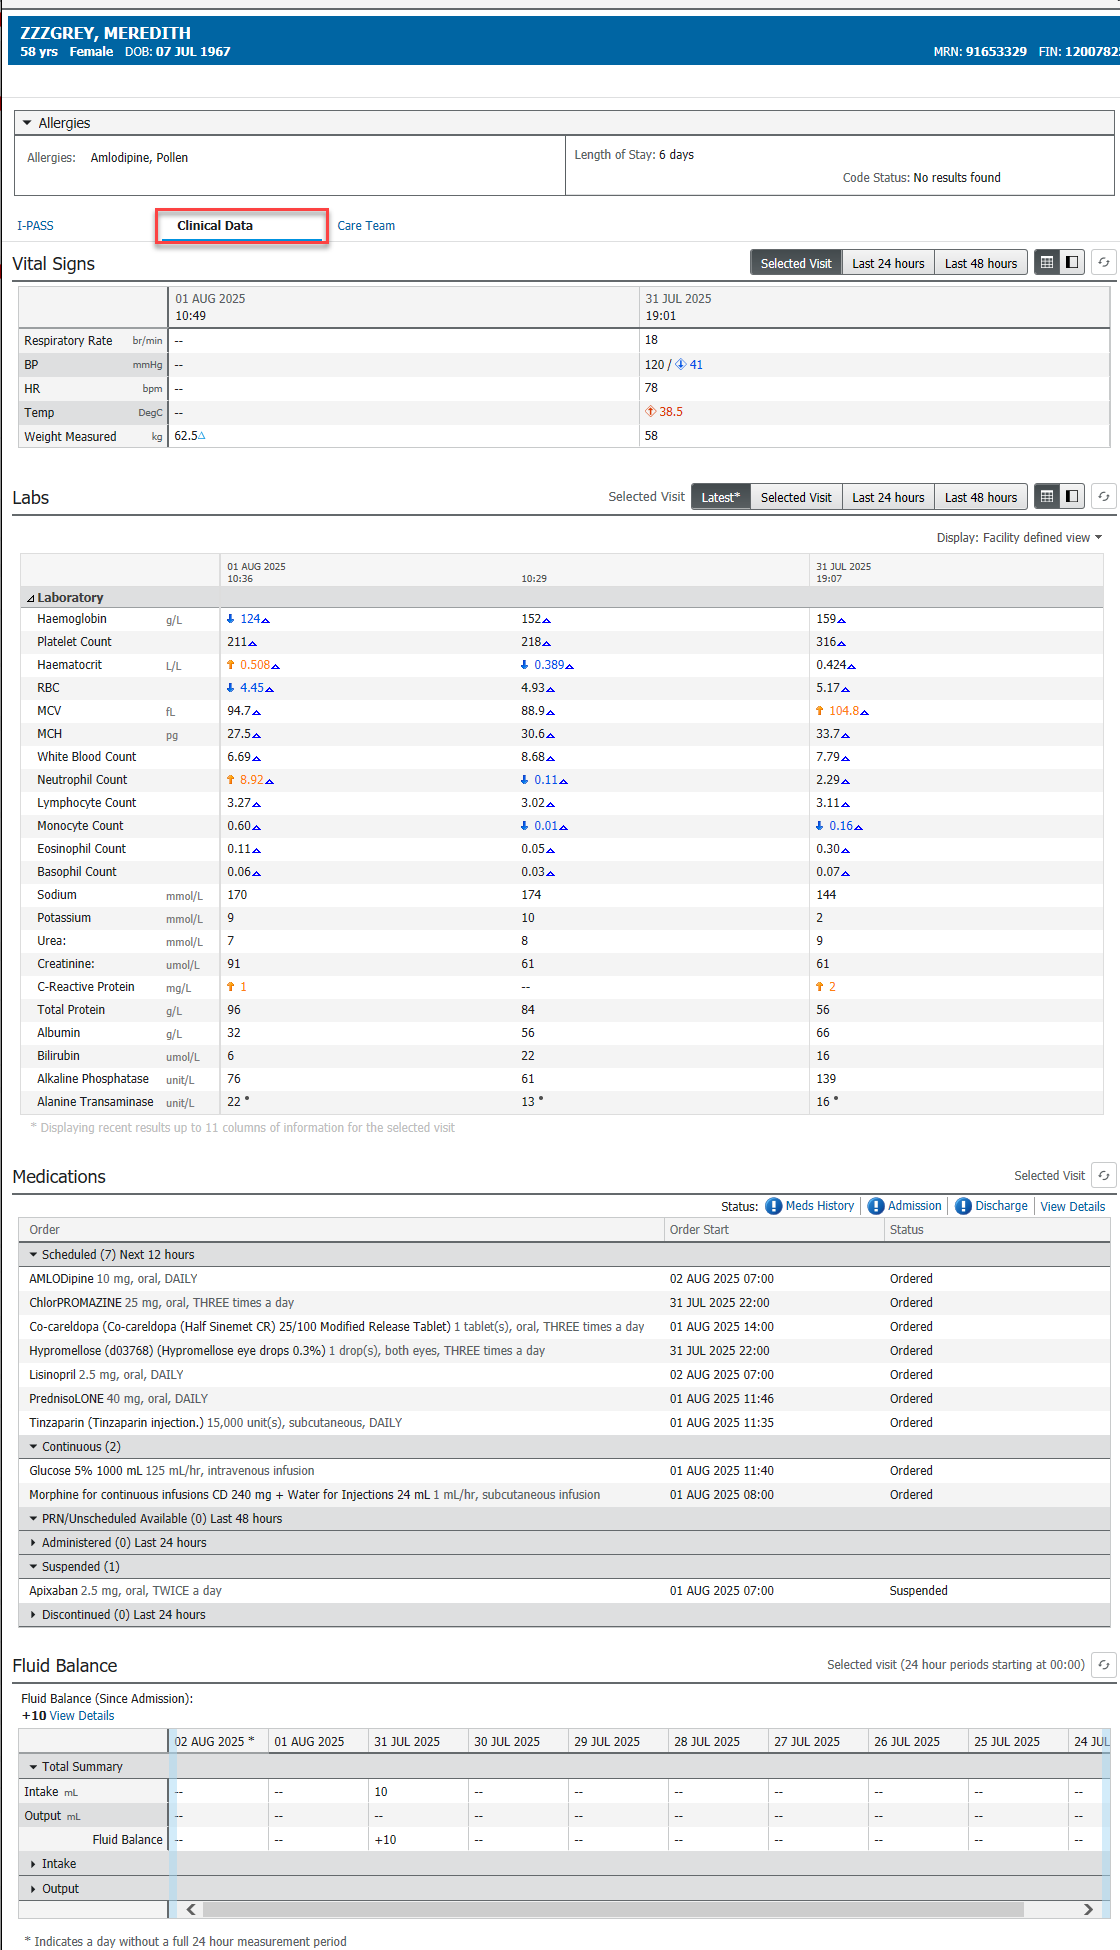
Clinical Data
To the right of the I-PASS tab is
Clinical Data where patient Vital Signs, Labs, Medications and Fluid Balance can be seen.
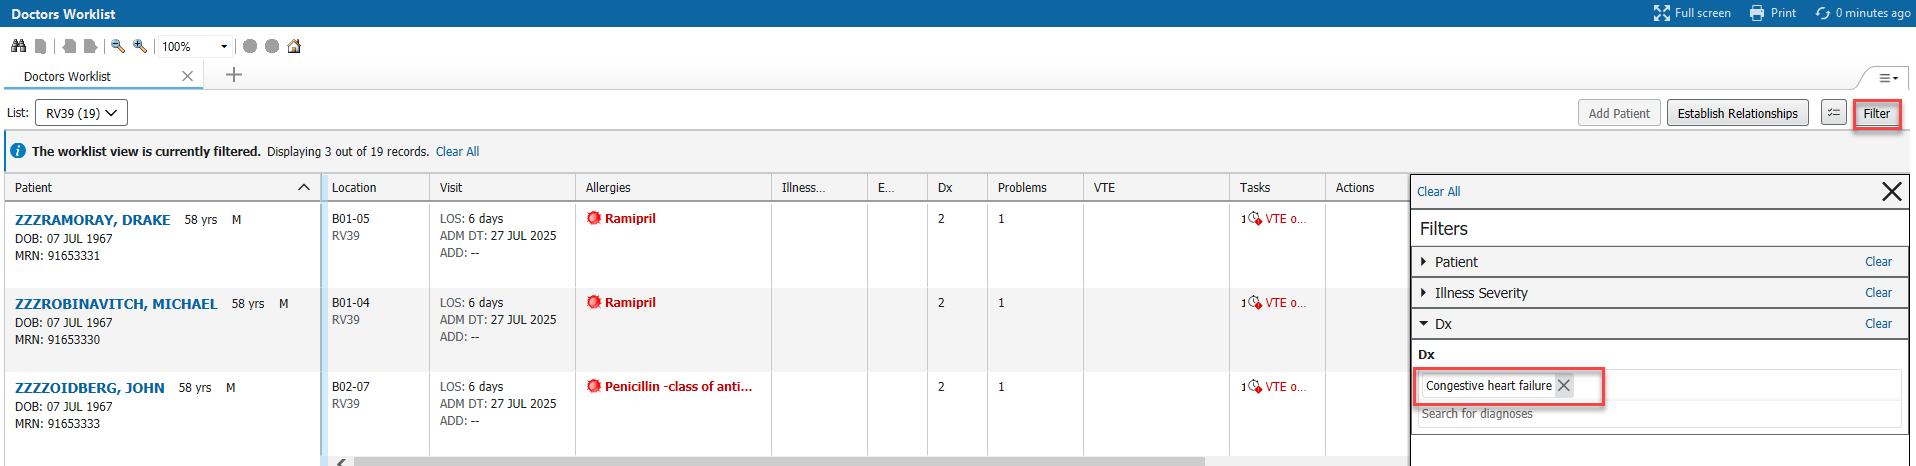
Creating a Filtered Patient List
Use Filter to view a list of patients based on Patient name/parameters, Severity or Diagnosis. e.g. Dx