Custom Lists – Adding a Proxy
Scenario
Custom short patient lists can be shared by proxy. This guide will show you how set up proxies during custom list creation or at a later time.
Instructions
Creating a proxy during custom list creation:
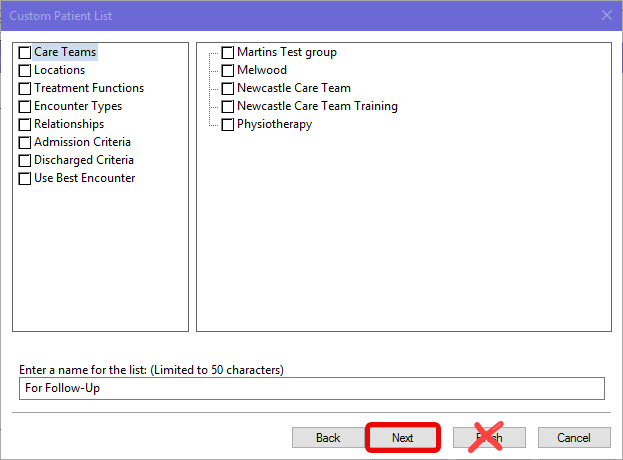
- You have created your custom list and given it a name. It is this step where you’ll set up a proxy by clicking on Next, instead of Finish.
- A new window opens. Click on New towards the bottom right side.
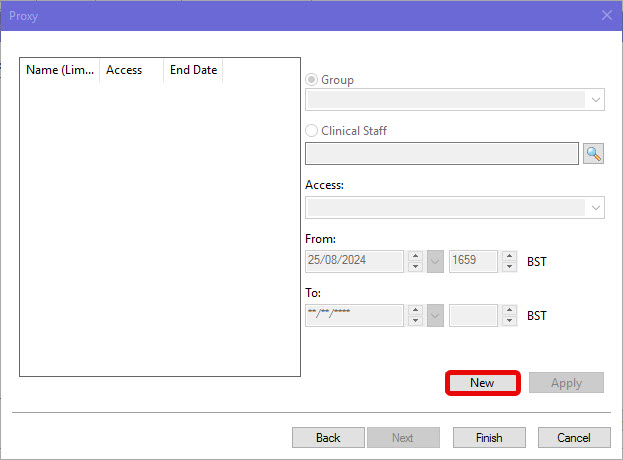
- You can choose to share by Group (drop down menu) or Clinical Staff (enter name as surname, forename or perform staff lookup search).
- Specify Access level: Full Access, Maintain or Read.
- Full Access allows adding of new patients to list via the Add Patient
 or by right clicking on a patient and selecting
- Maintain only allows adding of new patients to list via the Add Patient .
- Both Full Access and Maintain allow removal of a patient via Remove Patient
 .
.
- Regardless of how achieved, adding or removing patients from list affects everyone with access to the list, not just that particular list holder.
- Read access does not allow for modification of list.
- Specify date and time range for sharing. You must enter a 4 digit time.
Remember, when the To: date and time have been exceeded, the list will no longer be available to those you’ve shared with.
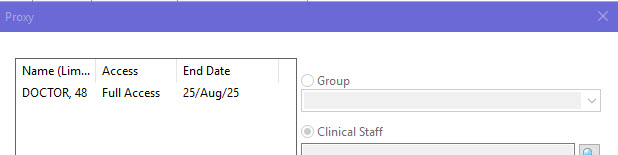
- Click Apply. The proxy access will now appear in the left side of the window with Name of whom you have shared with, the type of access and the end date.
- Repeat steps 2-6 to add more recipients, if required. Otherwise click OK to close the window.
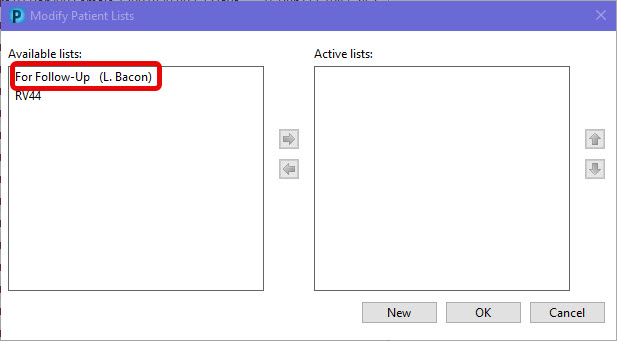
- The recipient can find the shared list in the Available window of List Management. The name of who shared the list is in parentheses. To activate, they need to move the list to the Active window.
- To end sharing, simply click on the name of the proxy and amend the date and time to now. The list will no longer be shared and the proxy will drop off your list when they next try to access. The proxy will receive a message saying the list is no longer available.
Creating a proxy after a custom list has already been created:
- Ensure the tab of the Short Patient List you wish to share is currently selected.
- Click on the Properties icon on top, left side of white screen.

- Select the Proxy tab.

- Follow steps 2-9 as above.