More results...
More results...

mediSIGHT can be opened locally by double clicking on the mediSIGHT Icon on the desktop or by opening it via eRecord.
Staff do not have to sign in using a Username/Password, instead they will be signed in automatically as single sign on is enabled (just like Powerchart).
The mediSIGHT Homepage consists of 4 tabs or rows that can be interacted with:

Find patient & Recent patients are explained further below.
Incomplete patients will show any patients whose encounter (such as pre-op assessment, consultation, operation, etc) has been saved for later. This button can be clicked whilst completing the encounter. These patients will stay here for 4 weeks.
Draft documents will retain any letter that has been saved for later, which has not been finalised. These letters will stay here indefinitely.
To find a patient, click into the search box that says “Type hospital or NHS number in full”. This search will only display results that match an MRN or NHS number:
![]()
Left click once anywhere on a search result to open up a patient record:

Alternatively, you can click on “Advanced” to search for a patient using more search fields, such as Surname, First Name, Postcode and D.O.B. :

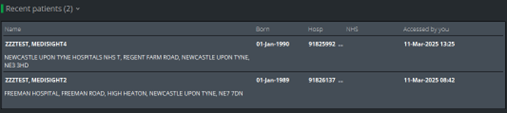
Once a patient record has been opened and closed, it will add the record to your Recent Patients tab:
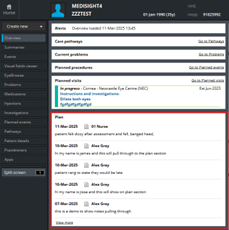
When you open a patient record, it will take you to the Overview page. This gives you a wholistic summary of their record, such as which pathways they are on, their diagnoses, any planned procedures and visits, injections, VA’s, IOPs, Diabetic Status and more:
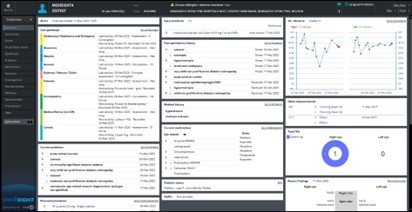
The Plan section (formerly known as Management plan) is located in the bottom left corner of the page, you may have to scroll down to see it:
No matter where you are on a patient record, you will always be able to see:
The navigation menu on the left side of the screen:
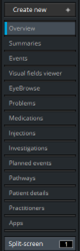
And the banner bar at the top of the screen:
![]()
The banner bar shows important information such as the patient’s name, D.O.B, MRN+NHS no., allergies, address and flags. It also allows you to click the Home button (which takes you back to the mediSIGHT homepage.
You can hover over the allergies section to view their drug allergies and non-drug allergies.
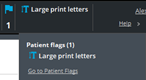
Hovering your cursor over the flags section shows their recorded flags:
To access the Events page, click on Events in the Navigation Menu:
![]()
The events page will show all clinical data recorded on the patient’s record on Medisight. Events included: notes, phone call discussions, assessments, pre-op assessments, visual fields, virtual reviews, consultations, letters sent to GP/Patient, etc:
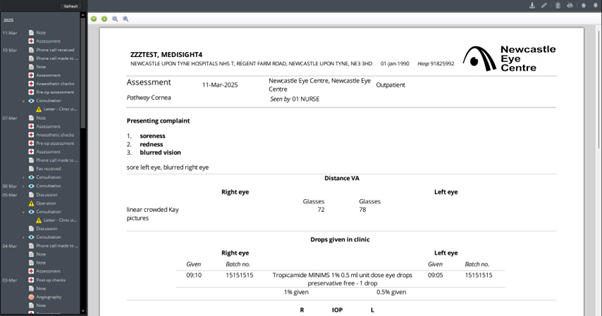
You can zoom in/out on a document by using the magnifying glass.
There are multiple actions you can do when viewing a document (top right hand corner of screen):
1) Download
2) Edit
3) Print
If you see an arrow next to a clinical note, such as a consultation, it means there is a letter attached. Click the arrow to view the letter:
![]()
To access the Patient Details page, click on Patient Details in the Navigation Menu:
![]()
There are 3 tabs available to view, however Admin staff will generally only use the Demographics tab and Flags tab:
![]()
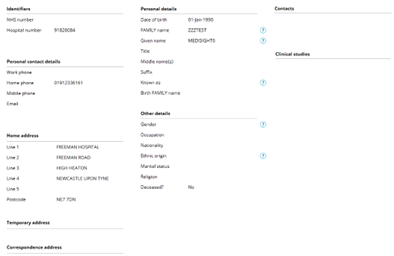
The Demographics tab pulls information from eRecord and displays personal details such as identifiers, contact numbers, address, etc. This information cannot be amended within mediSIGHT, as it will be overwritten regardless from the information stored on eRecord.
The flags tab allows staff to view patient flags in more detail, showing a list of their flags, any comments related to those flags, and the duration of the flags:
![]()
To add a Flag, click on the “Add new flag” button in the top right corner of the screen:
![]()
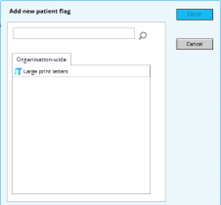
A side window will appear, allowing you to choose a flag from a list, or to manually search for a flag. Select a Flag and the window will change, asking you to specify its duration, and whether you’d like to include any comments. Click the blue Done button to finalise:
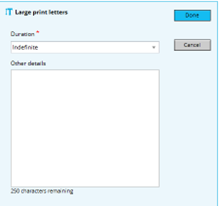
You can now see the flag added to the patients record:

To create a Note, click on Create New + in the Navigation Menu:
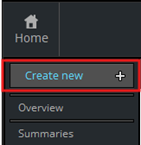
Then select Note:
![]()
The note creation page will load and will look like the following:
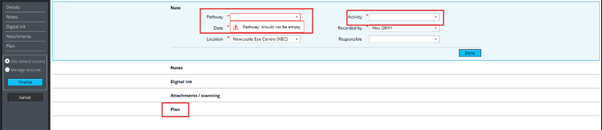
There will be some mandatory fields that require filling in prior to writing a note:
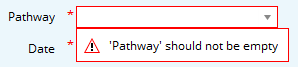
You will always have to select an Activity. The activity is simply stating what you are intending to create (phone call discussion, note, email received, letter received, etc):
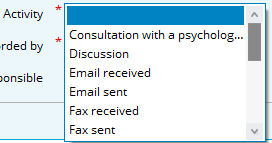
Once both fields have an option selected, you can move on to writing the note:
![]()
To write a note, click on the Plan activity below:
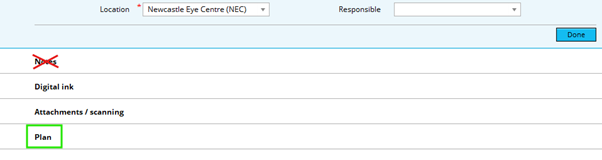
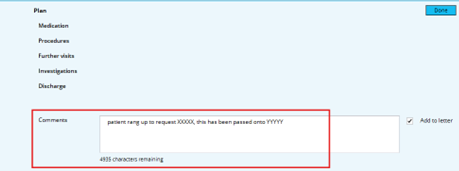
The plan section will open and you will see a comments box, that allows you to type 5000 characters for your note. Enter your information here:
Once you have finished typing your note, click the Finalise button on the left side of the page:
![]()
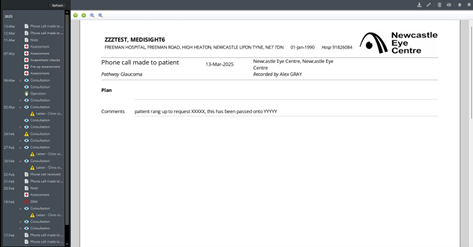
This will finalise and sign/submit the note, which will then take you to the Events page to show you where abouts the note is saved, and if you need to access it at a later date. Check your note for errors, etc.
If the note requires amending, you can click the pencil icon to Edit the note. You have 24 hours from when you last Finalised the note to make any changes. Afterwards, it becomes locked:
Clicking the Edit icon will take you back into the note to make any required changes. Remember to click Finalise again if you have made any changes.
To close the patient record and go back to the homepage, click the Home button in the top left corner of the screen. This button can be accessed at all times, regardless of which page you are on:
To close mediSIGHT completely, click the X button in the top right corner of the program:
![]()